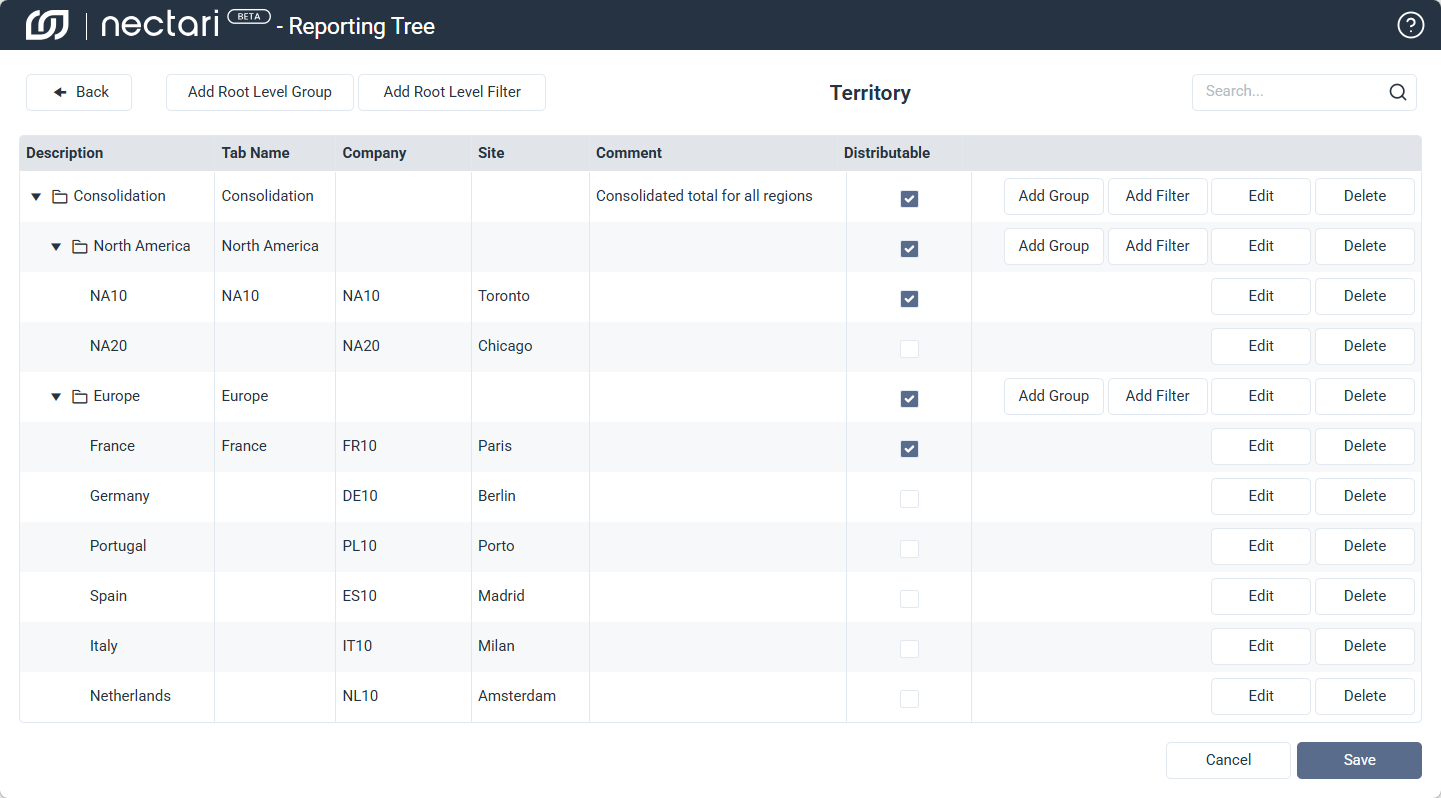
Example: Territory Reporting Tree
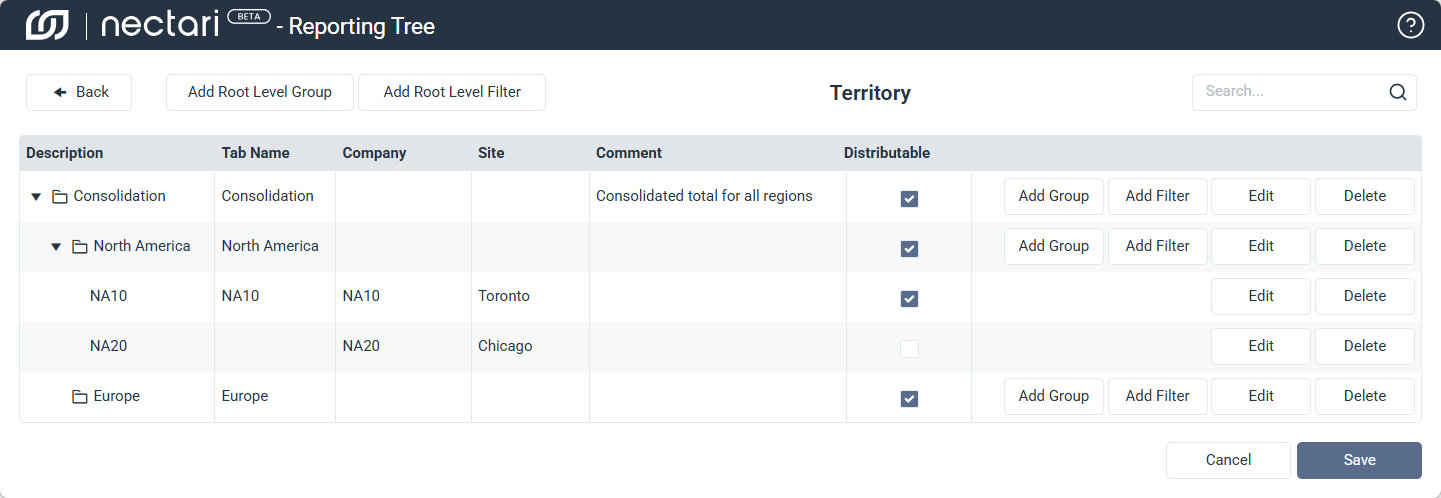
This example builds a two level reporting tree from scratch, grouping data by region and then by company and site underneath each region. A headquarters node, labeled Consolidation, contains North America and Europe as child groups, each with their own filters for the companies and sites that belong to them. Once built, selecting North America shows aggregated data for both its filters combined, while selecting a single filter such as NA10 narrows the data down to that company alone.
The tree uses Company and Site as global parameters, and the site value for each filter uses a wildcard to match every site under that company automatically.
To follow along, you need permission to manage reporting trees and existing global parameters for Company and Site.
Create the reporting tree
- In the navigation panel, select the gear icon to open the Administration page.
- Select Reporting Trees from the sidebar.
- Click Add New Reporting Tree.
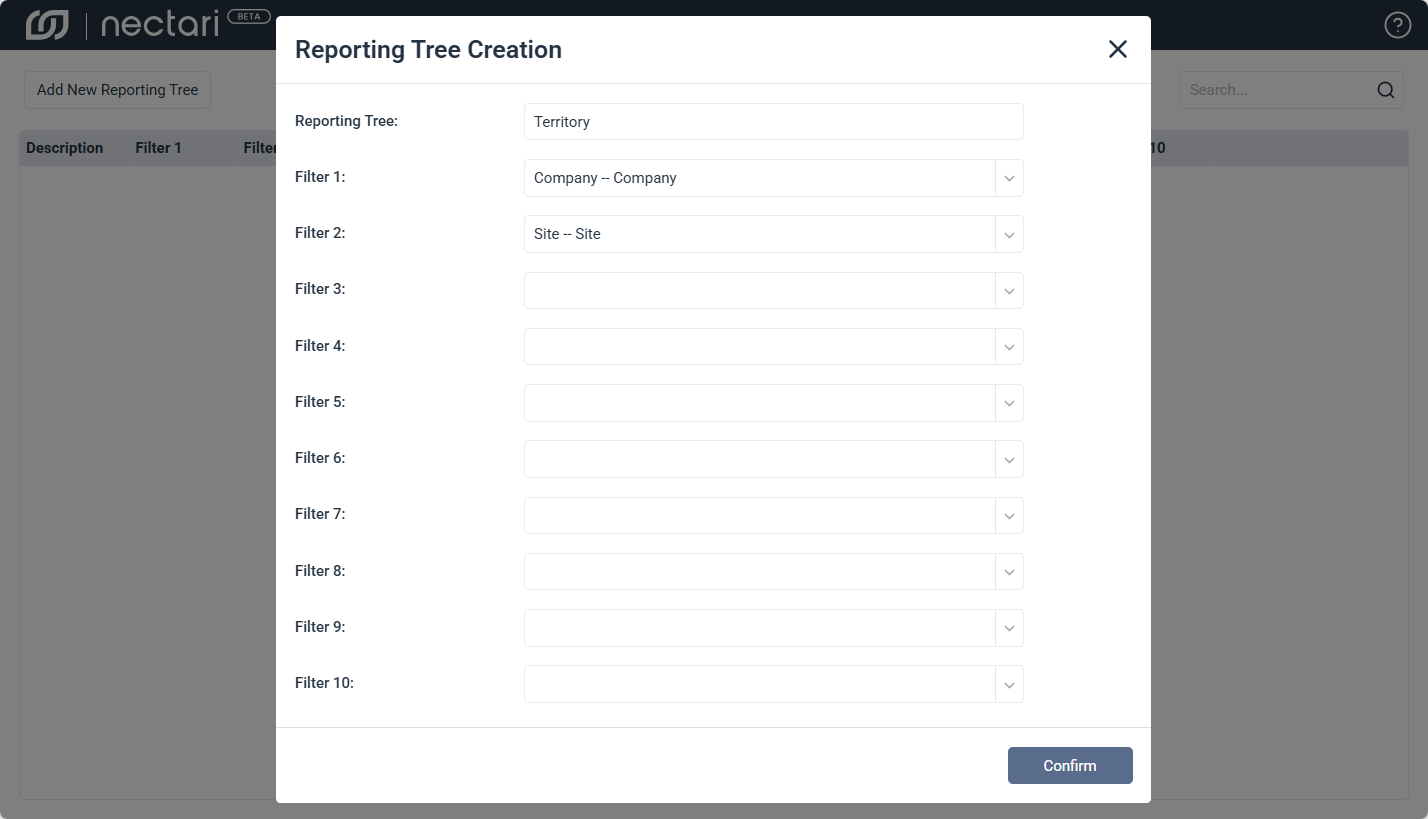
- In Description, enter
Territory. - Select the global parameters for the filters:
- Filter 1: Company
- Filter 2: Site
- Click Confirm.
Add the root level group
- Click the Manage Nodes icon next to the Territory reporting tree.
- Click Add Root Level Group.
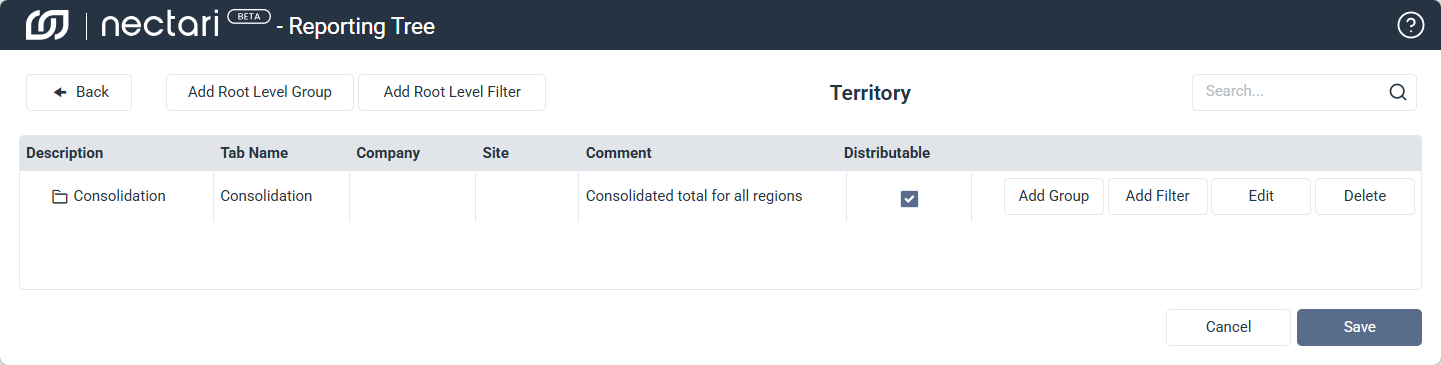
- In Description, enter
Consolidation. - In Tab Name, click the copy icon to reuse the description as the tab label.
- In Comment, enter
Consolidated total for all regions - Check Distributable.
- Click Save.
Add the region groups
- Next to the Consolidation group, click Add Group.
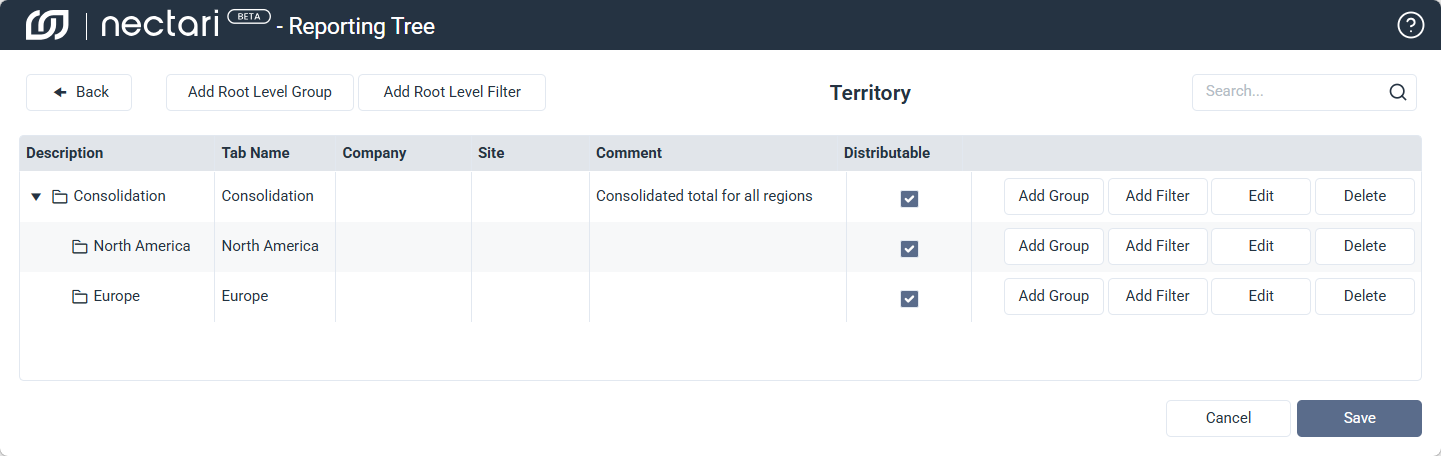
- In Description, enter
North America. - In Tab Name, click the copy icon to reuse the description as the tab label.
- Check Distributable.
- Click Save.
- Repeat these steps for
Europe.
Add filters for North America
- Next to the North America group, click Add Filter.
- In Description, enter
NA10. - In Tab Name, click the copy icon to reuse the description as the tab label.
- Click the prompt icon next to Company, select
NA10, then click Confirm. - Click the prompt icon next to Site, select
Toronto, then click Confirm. - Check Distributable.
- Click Save.
- Repeat these steps for
NA20, usingNA20as the Company value andChicagoas the Site value. - Leave Distributable unchecked.
Add filters for Europe
- Next to the Europe group, click Add Filter.
- In Description, enter
France. - In Tab Name, click the copy icon to reuse the description as the tab label.
- Click the prompt icon next to Company, select
FR10, then click Confirm. - Click the prompt icon next to Site, select
Paris, then click Confirm. - Check Distributable.
- Click Save.
- Repeat these steps for the remaining countries, using the following Company and Site values. Leave Distributable unchecked for each:
DE10, BerlinPT10, PortoES10, MadridIT10, MilanNL10, Amsterdam